I am currently in the process of decorating "middle boy" and "baby boy" s bedroom into a vintage/nautical/sailing room.
It has been quite fun
to come up with random ideas
and hunt the thrift stores
for bits and pieces to make it all come together.
-So I thought I should share a few
random little ideas
on how to get that look without
breaking the bank ;)
I started out with a basic box store book shelf that had two shelves
and a basic 4 drawer desk.
Both had a cheap dark finish on them.
The bookshelf was $5 at the thrift store and the desk was $3 at a garage sale.
(It was toward the end of the day at that sale and the couple told me that they were just going to tear it up and use it for firewood if no one bought it! -You can just imagine my mouth dropping open when I heard that! The desk was completely sturdy and had TONS of use left in it)
So anyway,
blue was the lucky color for this desk and bookshelf.
I had found a fabulous blue color
(Marine Magic by Behr)
in a magazine and then promptly lost the name of it.
So I chose a blue from the chips at the store,
came home,
primed and painted both pieces and OH NO!
That blue was way too bright and bold with a teal tone to it.
So there they sat in my garage for months.
And then one day the name of the color I had been trying to find popped into my head from out of the BLUE, ;)
Needless to say, I rushed to the store,
bought a gallon,
painted both pieces,
and there they sat for a month, cuz that's how I work :)
The other day I happened across an extra hour so I flew out to the garage and started sanding both pieces to give it that worn, vintage look.
As I was sanding I noticed the bright blue from the beginning was starting to show through here and there.
Oh my word was it ever lovely!
So I guess mistakes can lead to great new ideas!
-But wait, I'm not done with my longwinded post here ;)
As I was sanding the edges, the sander was taking of the dark finish and leaving the cheap light wood or whatever fake wood it is and making the piece look terrible.
What a bunch of ups and downs!
I racked my brain and the only thing I could come up with was
the same thing I always use:
a dark paste wax.
I was sitting there thinking, hmmm...
what if just rubbed a heavy coat of it everywhere that raw wood is showing through the paint?
So, I tried it,
and
I could not be happier!
This is the exact look and feel that I was aiming for in their room.
Oh, and the jars?
Well, that could be a whole other long winded post so I will try to quickly give the basics.
They are being used in a holiday vendor sale/ flea market/whatever you want to call it sale, coming up this weekend.
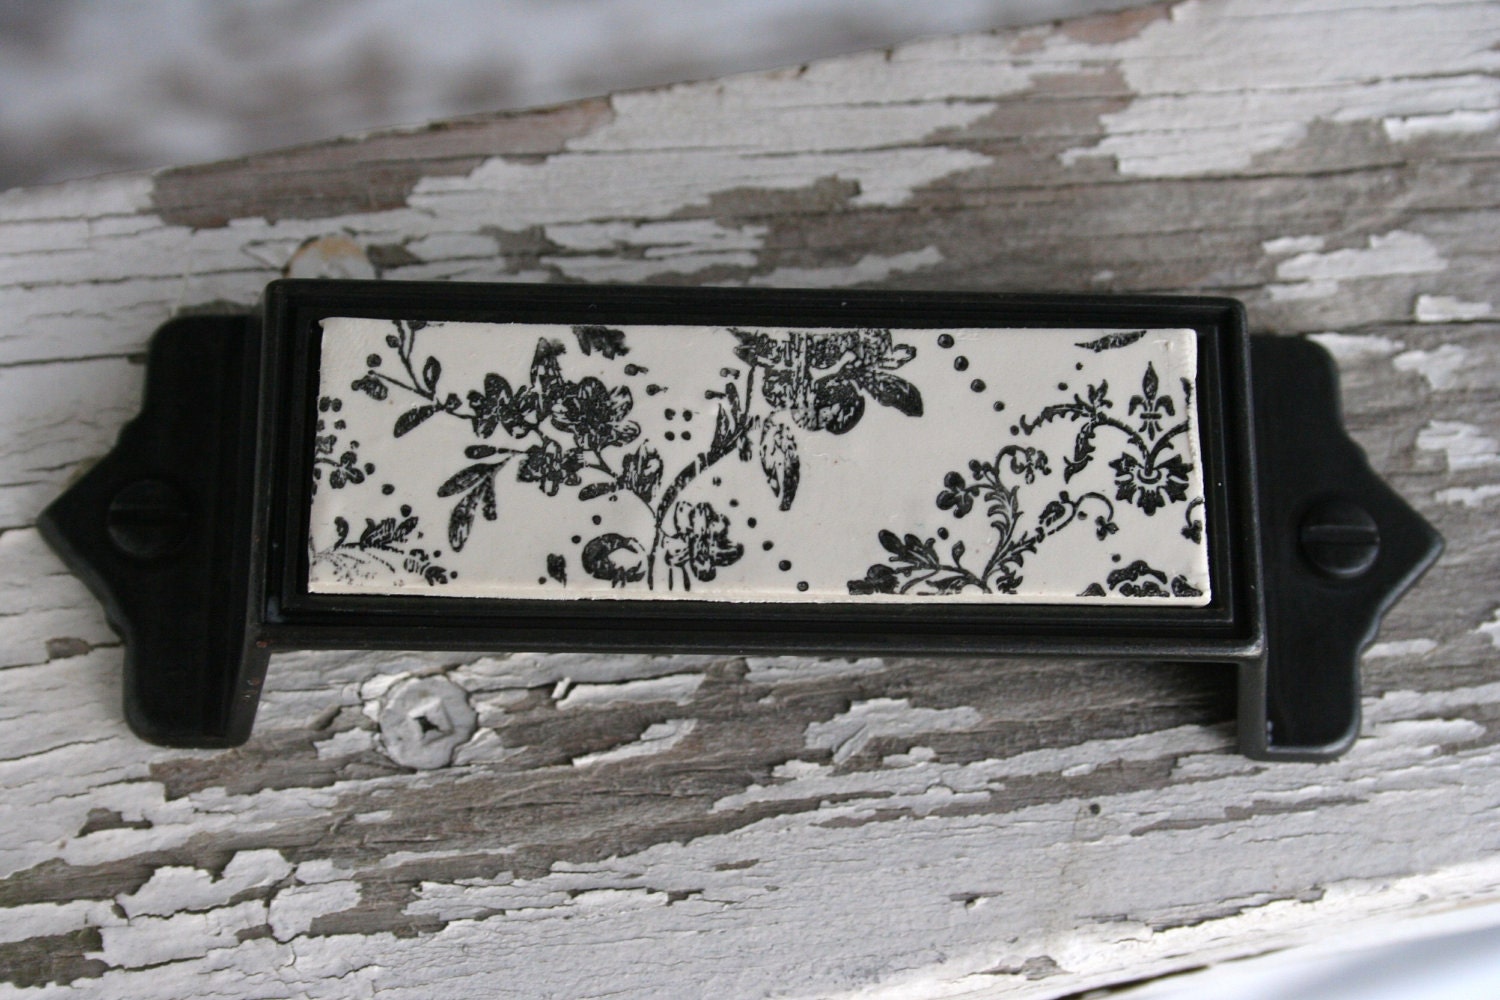
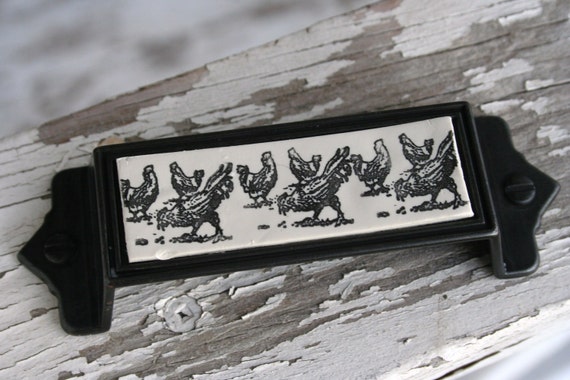
(I needed a fun way to display my knobs that I make so this is what I came up with)
-By the way all the knobs and other items in my etsy shop are 25% until Tuesday November 8th
with coupon code:
NOV11
So feel free to hop on over and check out the latest styles I have added.
-I have almost hit 900 sales so let's celebrate and thank you all!
Anyhow,
for the jars,
you just go to your local thrift store
and grab up random jars
and
those lovely-wooden-candlesticks-that-are-so-plentiful-at-thrift-shops-and-no-one-seems-to-wantanymore.
Throw a light whitewash on the candlesticks and if the jars have wooden lids, do those also.
Grab your handy dandy tube of E-6000
(I don't get paid to say that, the stuff is just like gold to me though!)
put glue on the top of the candlestick and center you jar on it.
Voila!
You have some out of this world apothecary jars:)
-A teeny tiny tidbit........ Look for wide bases on the candlesticks,
otherwise your jars are gonna be tippin' over on you
and breaking!
Enjoy!
I would love to see what you all come up with!


